
Blog
Homeowners: Two Day Storm Roof Inspection Checklist and Claim Steps
- BBB A+
- Owens Corning Preferred
- EPA Lead-Safe
- EIFS Certified
- Licensed & Bonded
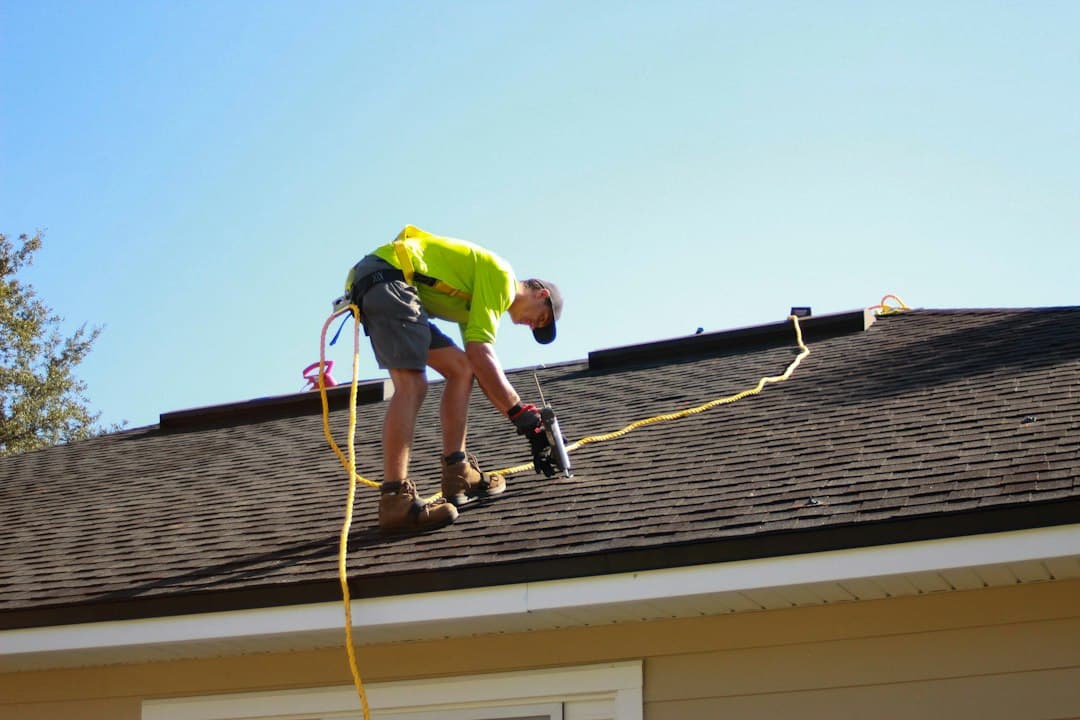
Inspect your roof from the ground first, then document every visible sign of damage with photos and video before you touch anything or call a contractor. If shingles are torn away, the decking is exposed, or you see a sag, stay off the roof and call a professional immediately. Contact your insurer as soon as you have basic documentation, since prompt reporting can affect how quickly a claim moves.
TL;DR:
Wind damage typically causes lifted or missing shingles, torn flashing, and creased ridge caps, which require professional evaluation depending on severity.
Impact damage from debris leaves punctures and broken tiles, often combining with water intrusion signs like ceiling stains and sagging roof decks.
Photographs with geotagging and detailed videos taken soon after the storm provide the strongest evidence for insurance claims, as damage documentation loses value quickly.
Verify contractor credentials, avoid signing assignment-of-benefits agreements on the spot, and seek multiple estimates before authorizing repairs to prevent scams.
Conduct biannual roof inspections to establish baseline conditions, replace missing shingles promptly, and keep maintenance records to improve insurance outcomes for older roofs.
Table of Contents
Types of storm damage you need to recognize
Storms punish a roof in several distinct ways, and each leaves its own signature. Learning to tell them apart helps you describe the damage accurately to an adjuster or contractor.
Wind tends to lift and tear rather than crush. Hail leaves rounded pits and cracked mats. Falling limbs and debris punch through in a single spot rather than spreading damage evenly, and water intrusion often shows up indoors long before you notice anything from the ground.
-
Wind damage: lifted, torn, or missing shingles, blown ridge caps, and creased or torn flashing.
-
Hail damage: small circular pits, crushed or missing granules, and fractured shingle mats or dented metal vents and caps.
-
Impact and debris damage: punctures, broken tiles, fallen branches, and underlayment exposed where material is gone.
-
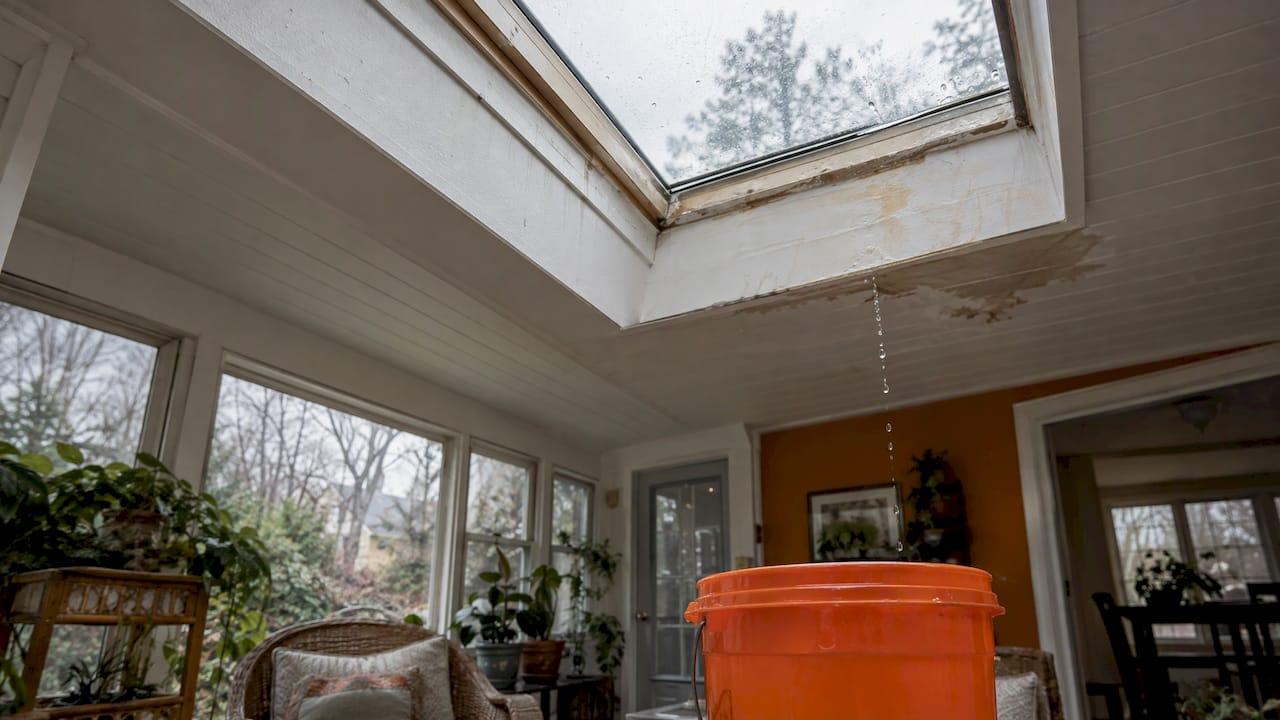
Water intrusion signs: interior ceiling stains, sagging roof decking, and standing water pooling on low-slope sections.
-
Ancillary damage: dented gutters, cracked vent boots, loosened chimney flashing, and soffits pulling away from the fascia.
Any one of these on its own may be minor. Several appearing together usually means the storm did more than surface damage.
A step-by-step checklist for a safe roof inspection
Before you climb anything, decide whether you should be up there at all. If the roof is steep, wet, or missing large sections, or if power lines or downed limbs are anywhere near the structure, stay on the ground and use binoculars, a smartphone camera zoomed in, or a drone if you have one. A ladder inspection is only for stable, dry conditions with a second person present.
-
Check safety conditions first. Look for downed lines, leaning trees, or standing water near the foundation before you approach the house.
-
Walk the perimeter. Check gutters and downspouts for granules, dented or torn metal, and debris caught at the eaves.
-
Scan the roof surface from the ground. Note lifted or missing shingles, visible cracks, punctures, and gaps around flashing.
-
Inspect the attic from inside. Look for damp insulation, daylight coming through roof boards, and fresh water stains on rafters.
-
Photograph everything you find. Take wide shots of the whole roof section, mid-range shots of the damaged area, and close-ups with a tape measure or ruler for scale.
Pro Tip: Turn on your phone’s location services before you start shooting photos, since geotagged images give your insurer a timestamp and location that’s hard to dispute later.
Interior checks matter as much as anything you see from outside. A soft spot in the ceiling or a musty smell in the attic often means water has been getting in for longer than the storm that caused it.

Documenting damage for a clean insurance claim
The evidence you gather in the first day or two after a storm carries more weight than anything collected weeks later. Local storm damage surveys rely on the same principle: ground and aerial documentation loses value fast once cleanup begins, so photographing damage before you move debris or make temporary repairs preserves what an adjuster or survey team needs to see.
-
Report the loss promptly, including the date, time, and a plain summary of what you observed.
-
Photograph and video everything, inside and out, before starting any cleanup.
-
Keep receipts for prior roof maintenance and any emergency repairs, like tarping.
-
Request written, itemized estimates from any contractor you consider, and keep copies of every document.
-
Understand how payment works: insurers often issue an advance payment before a full settlement, and your payout may depend on whether your policy pays actual cash value or replacement cost.
A well-organized, timestamped photo inventory is often the single most useful thing a homeowner can hand an adjuster, according to the Insurance Information Institute, because it speeds up the review instead of leaving the adjuster to reconstruct the timeline alone.
Be careful before signing anything that hands over control of your claim. An Assignment of Benefits lets a contractor negotiate directly with your insurer on your behalf, and once signed, you may lose the ability to manage your own claim. Verify any contractor’s license and standing before considering one.
When to call a professional and how to vet a storm-damage contractor
Some damage is a DIY documentation job. Other damage means you pick up the phone immediately. Call a professional right away if you see a sagging roofline, active leaking, large sections of missing decking, or anything that makes climbing unsafe.
Once you’re ready to hire, vetting matters as much as speed.
-
Confirm state licensing and ask for proof of liability insurance and workers’ compensation coverage.
-
Check local reviews and complaint history with your state licensing board and the Better Business Bureau.
-
Get multiple itemized estimates that spell out materials, scope, and timeline before you sign anything.
-
Ask directly about insurance-restoration experience and whether they offer emergency tarping while your claim is pending.
Watch for red flags: contractors who show up unsolicited after a storm, pressure you to sign an Assignment of Benefits on the spot, or demand full payment before starting work. The NAIC’s contractor scam guidance notes that FEMA does not certify private contractors, so any claim of federal endorsement is worth questioning.
Baseline inspections that make storm damage easier to spot
A roof you’ve never really looked at is hard to evaluate after a storm, because you have nothing to compare it to. Twice-yearly inspections, in spring and fall, give you a baseline condition and a set of dated photos to reference later.
-
Clear gutters and downspouts each season so water has somewhere to go.
-
Trim overhanging branches before they become storm-driven debris.
-
Replace missing or curling shingles as soon as you spot them, rather than waiting for the next storm to make the problem worse.
Roof age matters for more than maintenance. An older roof is more likely to be paid out at actual cash value rather than full replacement cost, so keeping records of upkeep can support a stronger claim later.
Magnum Home Services’ credentials for storm inspections
Magnum Home Services is led by an experienced owner, supported by an in-house crew who handle documented storm inspections. The company holds a Preferred Contractor status with a major manufacturer and maintains a high customer rating, and its team assists homeowners with emergency tarping and itemized insurance-restoration estimates.

Urgency with due diligence
Document and secure your property fast, but don’t let urgency rush you into signing away claim control. A careful homeowner moves quickly on evidence and slowly on contracts.
— Charles Hinkel
Request a storm-damage inspection from Magnum Home Services

Chasing down a licensed contractor after a storm takes time you may not have if a tarp is the only thing keeping water out. Magnum Home Services handles that whole process directly, from documented inspection reports to itemized insurance estimates, so you’re not managing separate calls for tarping, documentation, and repair.
-
Emergency tarping to stop water intrusion while your claim is in progress.
-
Documented inspection reports that give you and your adjuster the same starting point.
-
Itemized estimates for repair or full replacement, backed by manufacturer-preferred contractor status and available financing options.
If your roof took a hit, request a storm damage roof inspection or explore storm and wind damage repair options to get a documented assessment started.
Sources
For claims timing and Assignment of Benefits cautions, see the NAIC’s consumer guidance and the Insurance Information Institute on how adjusters settle disaster claims.
This article is general information, not a substitute for advice from a qualified financial advisor. Consult a qualified financial professional about your own circumstances before acting on anything here.
FAQ
How do home inspectors check for roof damage?
Inspectors walk the roof surface and perimeter looking for lifted or missing shingles, cracked flashing, granule loss, and soft spots in the decking, then check the attic for daylight, staining, or damp insulation. They typically photograph everything they find to document the roof’s condition at the time of inspection.
What is the 25% rule for roofing?
Rules vary by state and local code, so check with your municipality or a licensed local contractor before assuming it applies to your situation.
What not to say to an insurance adjuster about roof damage?
Avoid guessing at the cause or extent of damage, and don’t speculate about repair costs or agree to a settlement figure on the spot. Stick to describing what you observed and let your documentation and a written contractor estimate support the rest of the conversation.
Is October too late to get a new roof?
Roofing work can generally continue into fall in most climates as long as temperatures stay within the range most shingle manufacturers require for proper sealing. If you’re facing storm damage, an emergency tarp can protect your home while you schedule a full replacement for the right weather window.
Recommended
Free, no-pressure inspections across Towson & Baltimore County.
Keep Reading
More from the blog
Free Estimate
Get your free, no-pressure roof estimate
Tell us what's going on and we'll call you within one business hour. Same-week appointments available across Baltimore County.
- BBB A+
- Owens Corning Preferred
- EPA Lead-Safe
- EIFS Certified
- Licensed & Bonded